Passive
Particle Barrier
Projected Barrier
Ultimate
Synergise
Zarya Hero Guide
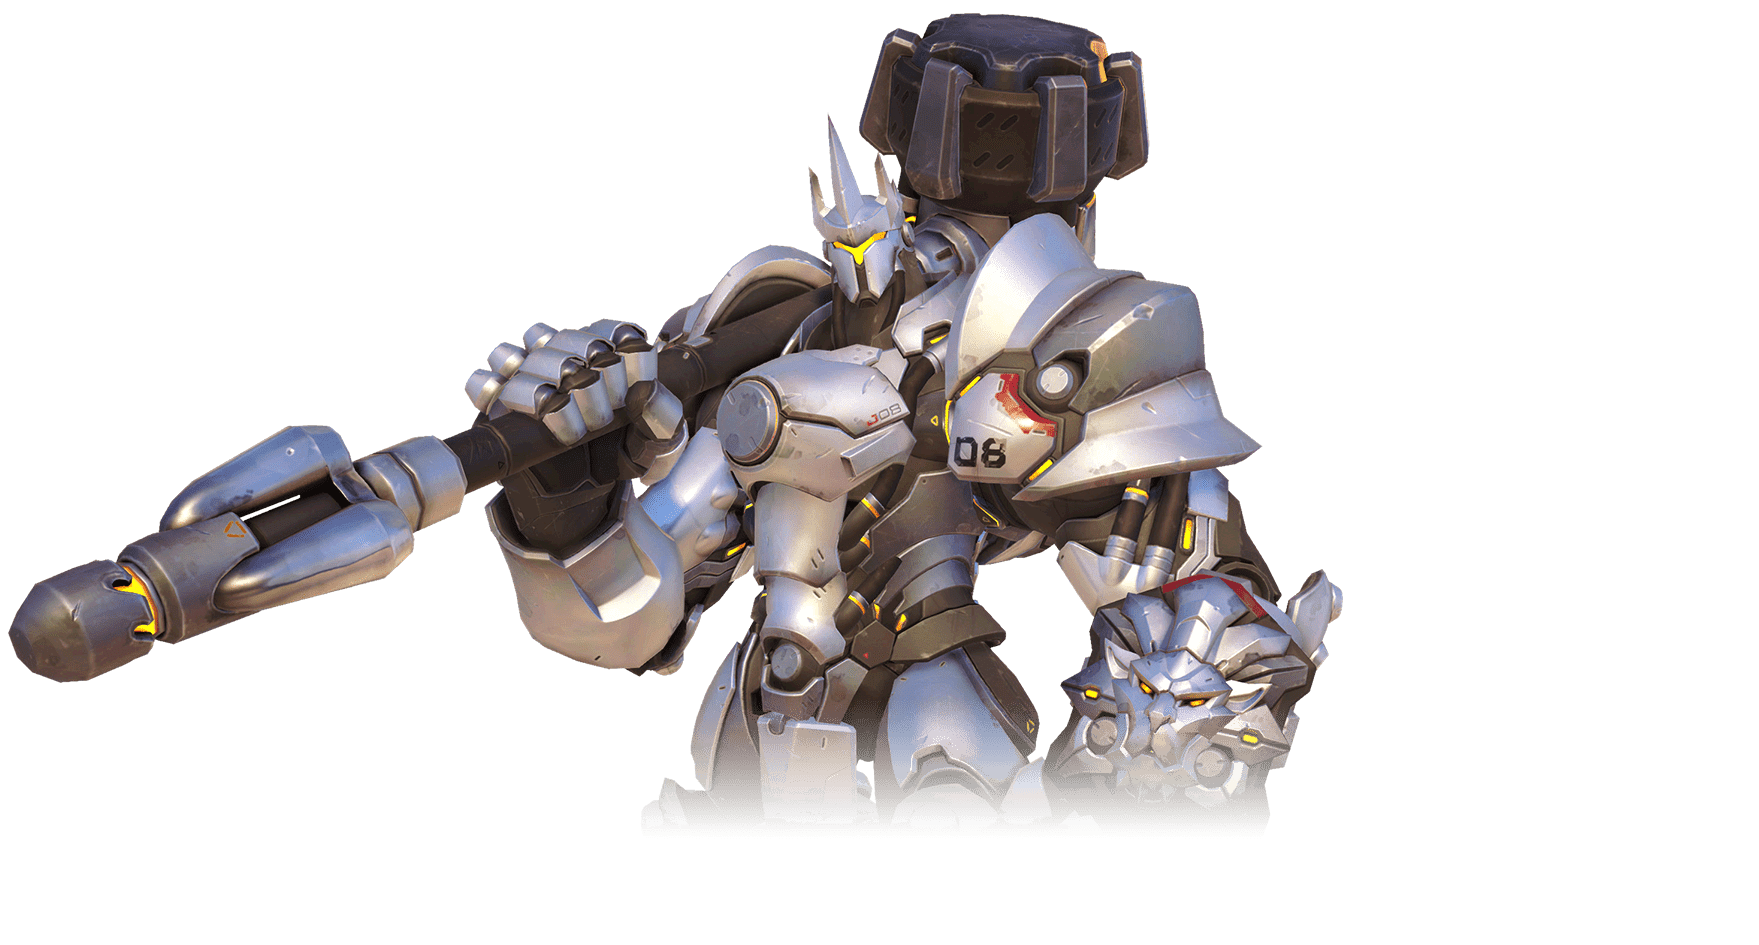
Zarya is a ranged Warrior who combines protective abilities with strong offensive capabilities. Her Basic Attack animation is unique, as it allows her to hit multiple enemy targets at the same time.
Unlike other Warriors, Zarya is capable of shielding either herself or nearby allies. Upon taking damage, shielded targets (herself included) increase Zarya's Energy, which can greatly increase her
damage potential. Thus, playing Zarya requires the player to carefully analyse the battlefield and shield targets that are likely going to be attacked. Both of her Heroic Abilities can have a tremendous
impact on team fights, which makes Zarya a powerful and rewarding Hero to master.Let's check out his abilities in-depth:
Before looking at Zarya's active abilities, we should first talk about her passive ability,Zarya has a passive called Energy , which increases the damage of her Particle Cannon Icon Particle
Cannon (both its beam and explosive charge) whenever damage is absorbed by her Particle Barrier Icon Particle Barrier or Projected Barrier Icon Projected Barrier abilities.The Particle Cannon charge
ranges from 0% (base damage) up to 100% (which doubles its damage output). Each 5 damage absorbed by one of Zarya's two shields increases Particle Cannon's charge by 3%. Finally, the Particle Cannon's
charge decays on its own at a rate of 2% per second.

The Particle Barrier Icon Particle Barrier is a 2-second shield that Zarya places on herself, which absorbs up to 200 damage from any enemy abilities. As stated earlier, every 5 points of damage
absorbed by the Particle Barrier increases Zarya's Energy Icon Energy by 3%.It is very important to note that Particle Barrier will absorb all the damage of any attack that hits Zarya while the Barrier
is active, even if that damage exceeds the Barrier's remaining capacity. For example, Tracer's Pulse Bomb Icon Pulse Bomb deals 400 damage if it is stuck to Zarya. If Zarya has her Particle Barrier active
when the Pulse Bomb explodes, this will consume the Barrier (as its damage exceeds the Barrier's capacity) but it will also means that none of the damage from Pulse Bomb will reach Zarya. It is useful to
know this because it allows Zarya to survive several of these very damaging one-shot ultimates (like Junkrat's RIP-Tire Icon RIP-Tire or D.Va's Self-Destruct Icon Self-Destruct).Particle Barrier is Zarya's
only means of protecting herself from damage, so it is important that you use it to block as much incoming damage as possible throughout a game, especially when that damage threatens to kill you. But
absorbing damage with Particle Barrier also has the important role of contributing to your damage output, which makes it all the more essential that your Barriers actually blocks damage.You will need to
evaluate each situation to tell whether or not you should use the Particle Barrier. Obviously, if there are no enemies around, or if no one is damaging you, then you need to save the Barrier. Aside from this,
every time someone is dealing damage to you (as long as it is not very low collateral damage), you should use the Barrier. Moreover, if you can bait opponents into focusing you down when your Barrier is
available and you can easily use it, you should do so (as long as your passive damage increase is not already very high), since this is an effective way of both increasing your damage and distracting the
enemies.

Projected Barrier is an ability that works almost identically to Particle Barrier Icon Particle Barrier, except that instead of shielding Zarya herself, it allows Zarya to shield an ally. Projected
Barrier absorbs more damage (400, instead of 200), and it has a slightly shorter cooldown (8 seconds, instead of 10).Like Particle Barrier, Projected Barrier has a 2-second duration, and it also absorbs
all the damage of any attack that hits the shielded target while the Barrier is active.Projected Barrier is Zarya's only means of protecting her allies, but it is very effective at this. Moreover, damage
absorbed by the Barrier also increases Zarya's Energy Icon Energy, increasing her damage, and it also builds up her ultimate charge.The short 2-second duration of the shield can make it difficult to use,
because often, by the time your allies realise that they have been shielded, it is too late for them to re-commit to a fight they were retreating from, or to go in and cast their ultimate. As a result,
communication is very important for making proper use of Projected Barrier. If you can tell an ally Pharah, Reaper, or Genji (by voice) that you will shield them if they dive the enemy team with their
ultimate, this can have devastating consequences.

Graviton Surge causes Zarya to lob an energy orb forward, which persists for 4 seconds at the location where it lands. While active, Graviton Surge orb will suck in any nearby enemies onto it,
and it will hold them there.Enemies who are stuck in a Graviton Surge will take a small amount of damage every second, and they can still use all of their abilities, as well as attack. However, the enemies
cannot move out of the Graviton Surge, and most movement abilities that would help them escape will not work.Graviton Surge is not useful for the damage that it deals, but it is immensely useful for its ability
to not only hold enemies in place for 4 seconds, but to instantly group them up as well. This means that Graviton Surge is the best set-up ultimate in the game. It facilitates the usage of a very large
number of powerful ultimates and abilities which are otherwise difficult to land.
